Framing
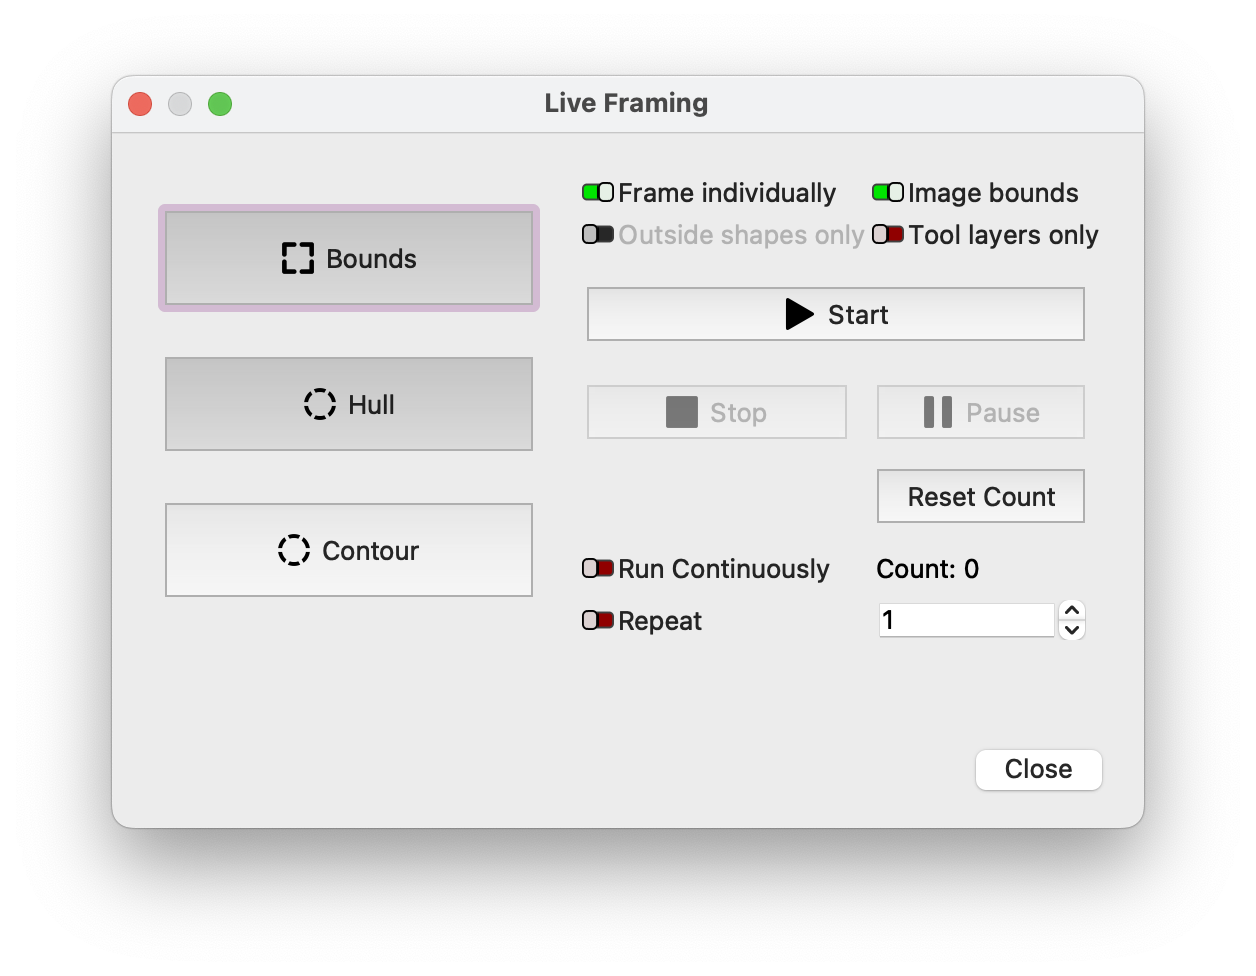
Framing mode is a function of Galvo lasers that permit you to preview the outline of your design on your physical object before engraving it. Clicking the 'Frame' button in the Laser window, or pressing 'F1' brings up the Framing Mode window.
Framing Styles
The different options allow you to choose how accurately the red-light frame represents your shapes, and which shapes are shown.
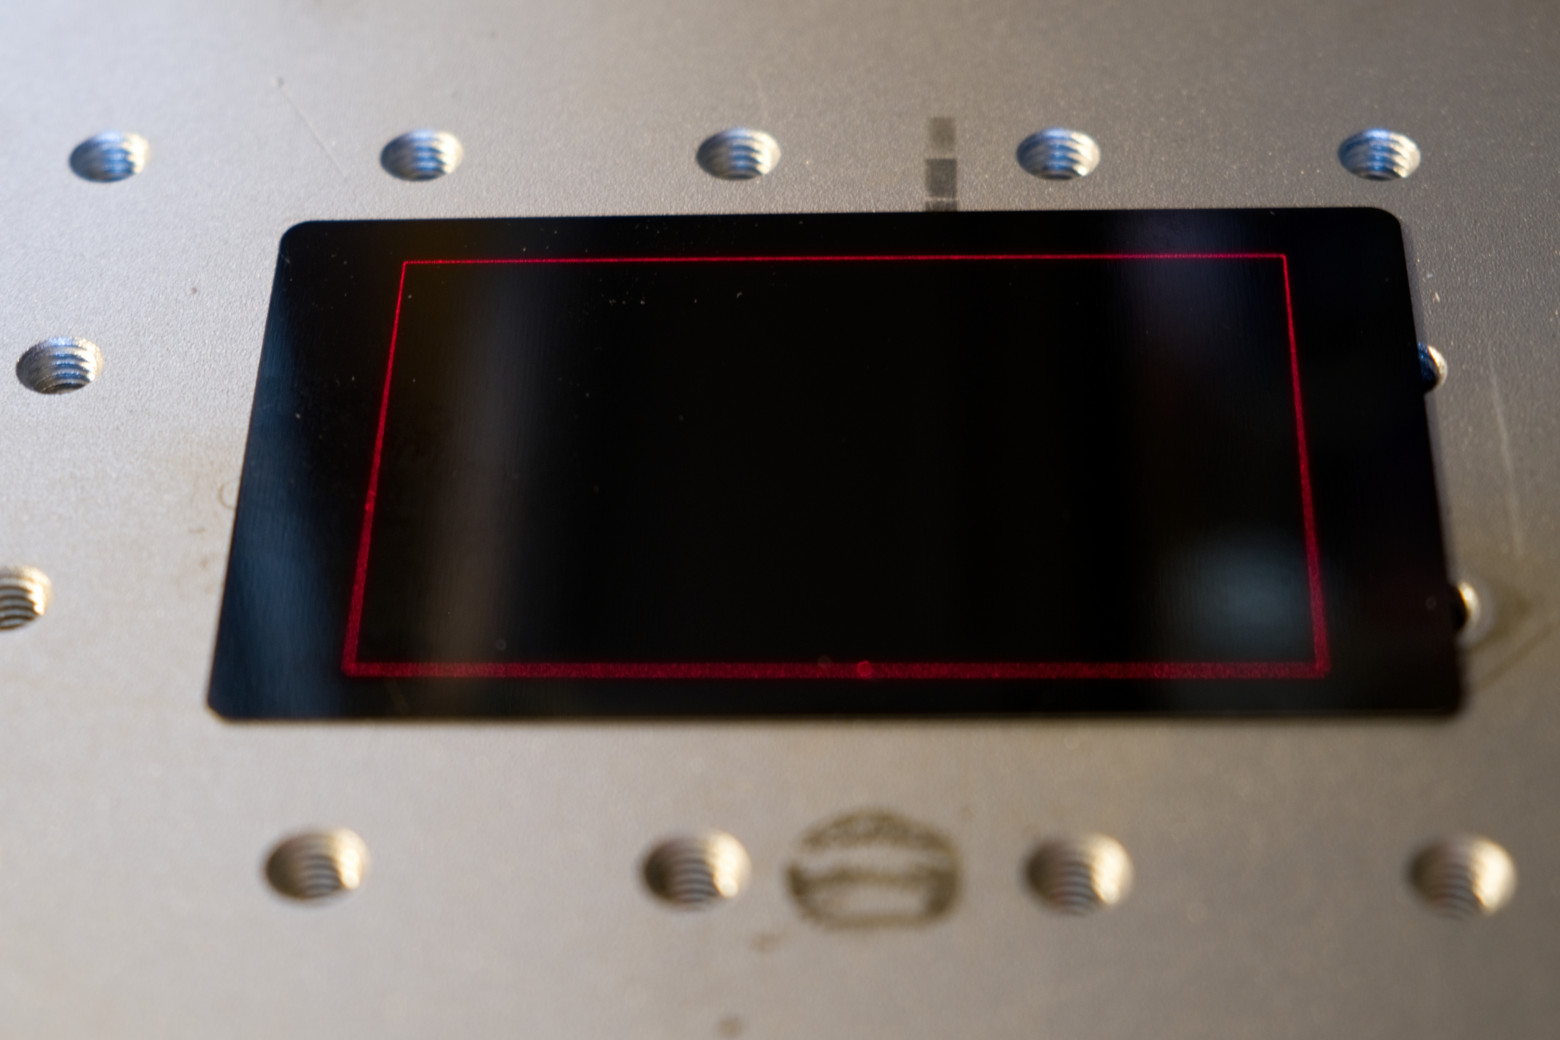
Bounds
This mode is a simple rectangle, drawn just big to enclose your shapes. It is extremely fast, but doesn't represent complex shapes well.
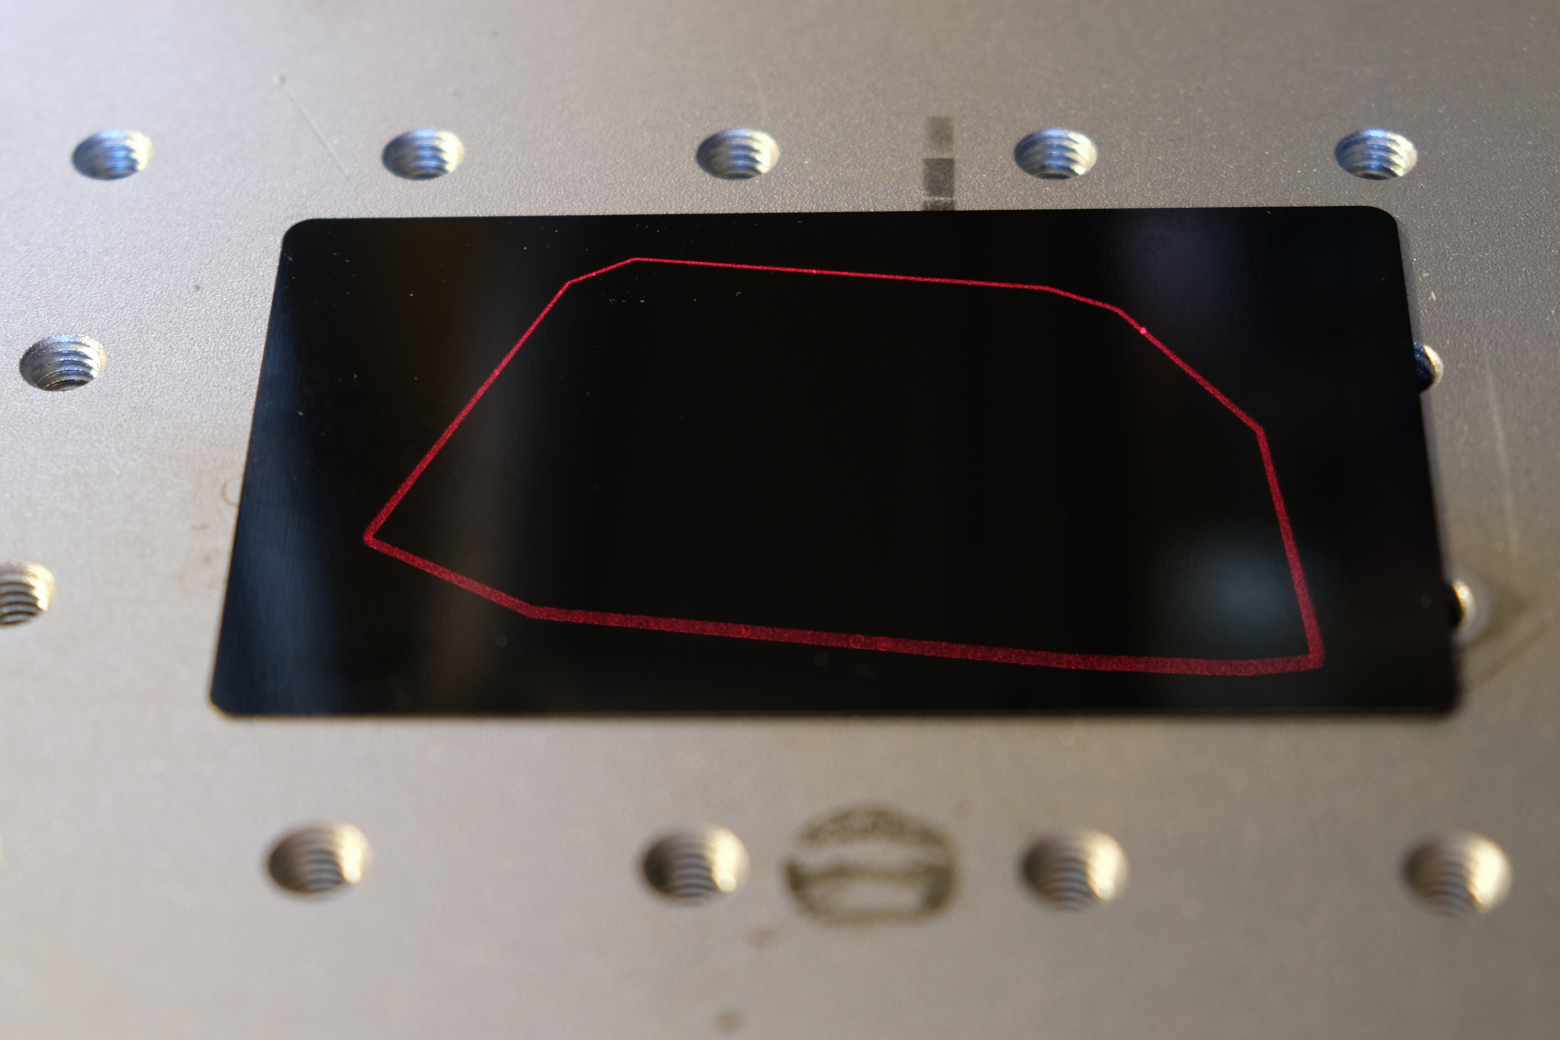
Hull
The 'hull' is what you'd get if you stretched a rubber-band around your shapes. It is nearly as fast to draw as the rectangle bounds, but gives a much closer fit for rounded or smooth shapes.
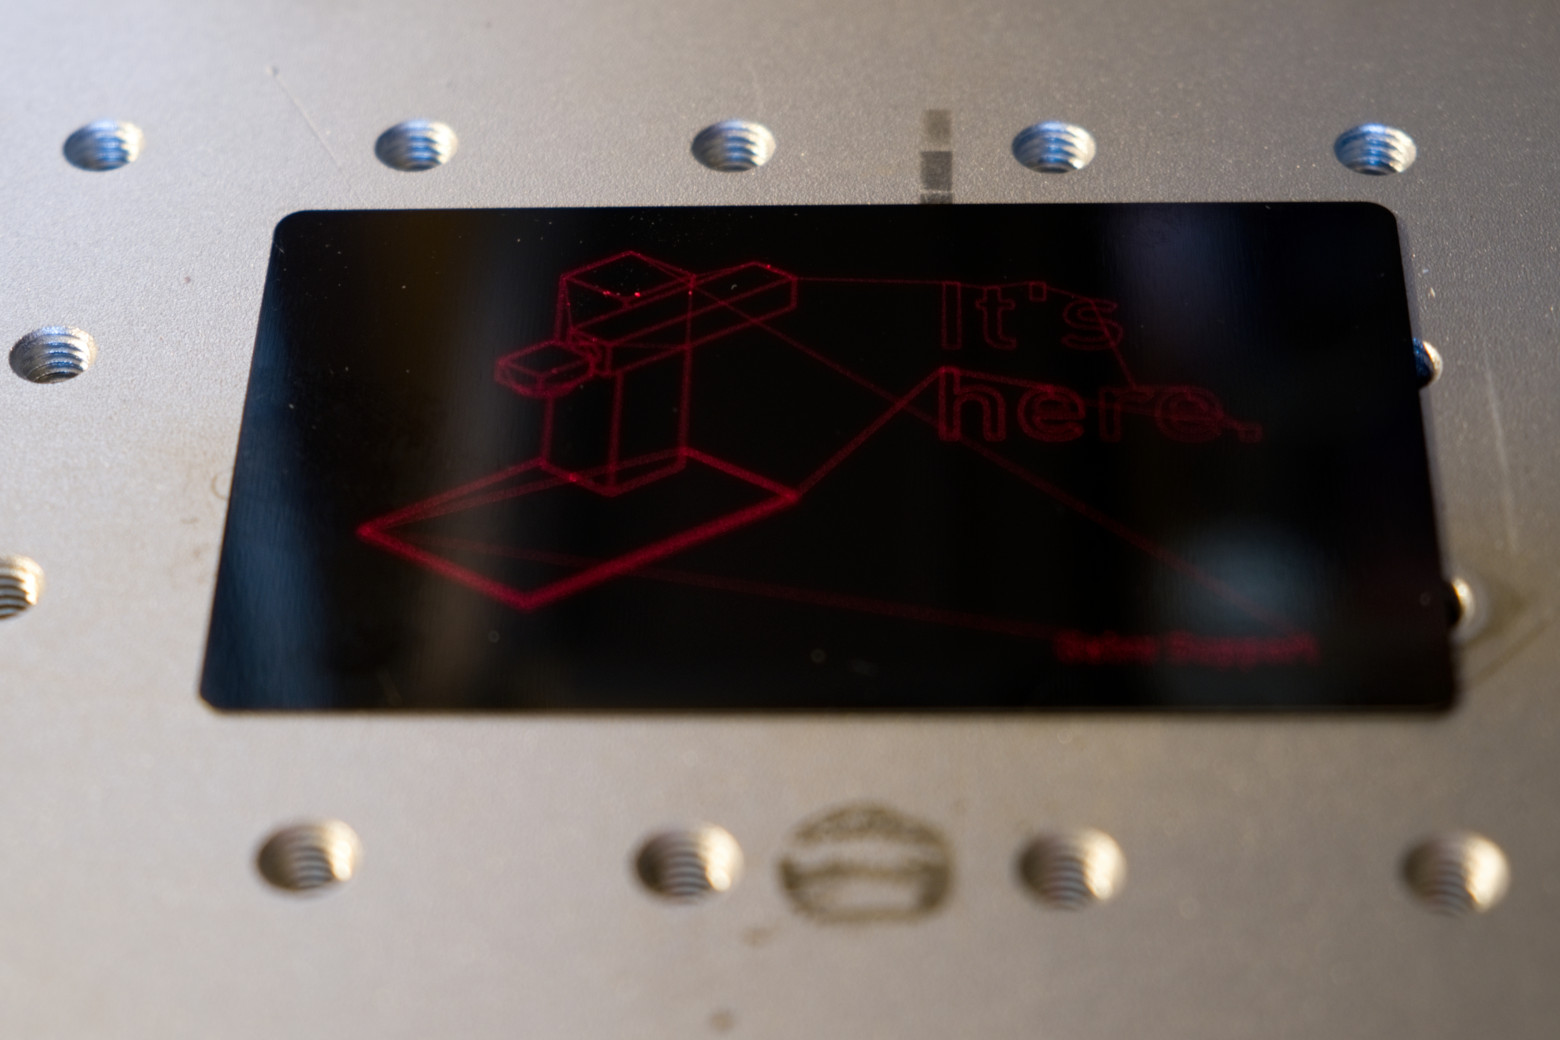
Contour
Contour follows the exact contours of your shapes - it takes the longest to draw, but it's the most accurate.
Nudging
While framing, the arrow keys can be used to nudge the position of your graphics by 1 mm. Holding Shift will increase the movement distance to 5 mm, and holding Ctrl will decrease it to 0.2 mm.
Starting from version 1.4, you can also nudge the scale of your design. Page Up will scale up, and Page Down will scale down. If your keyboard doesn't have those keys, try the Function key along with up and down arrows.
Additional Options
Frame Individually
This toggle switch indicates whether you would like to draw a single bounding box or hull around everything together, or around each shape in turn (this only affects Bounds and Hull modes).
Image Bounds
Enabling this toggle switch attempts to quickly trace the outlines of any images you have in your design, rather than simply showing the rectangular boundary of the entire image.
Outside Shapes Only
This toggle switch tells the software not to trace inner shapes, like the insides of letters - Typically this doesn't affect placement, but allows a faster update of the frame (this only affects Contour mode).
Tool Layers Only
Enabling this toggle will tell LightBurn to only frame shapes that are on one of the tool layers.
Job Counter and Multiple Runs
Count
This value is incremented at the end of each successful run of your file. You can use this to keep track of how many parts you have marked, or how many passes of a single job you've run. Press the Reset button to reset the count back to zero.
Run Continuously
Turning on this switch will make LightBurn re-start the job automatically after it finishes, and will update the run counter after each run. This is useful when you are doing very deep engraving, and are unsure how many passes a job will need. If you turn off the switch while a job is running, it will stop when the current run completes.
Warning
Please ensure your laser is properly supervised, even during long jobs with multiple passes.
Repeat
Turn on this switch and set the repeat count value to run the entire job a specific number of times. This is similar to 'Run Continuously', except it will stop when it reaches the repeat count. If you turn off this switch while a job is running, it will stop when the current run completes.