Tracing Images
LightBurn has a feature that will trace the outline of a bitmap image and convert it to a vector graphic. This works best for content that has very clear edges, like a silhouette or a cartoon. It does not work very well for photographs, though with some cleanup those may be usable as well.
We have an excellent tutorial video for this feature on our YouTube channel here: Image Tracing Tutorial
To start, import an image object into LightBurn, select it, then choose Tools -> Trace Image from the menu or press Alt+T. You can also select an image, then right-click and choose Trace Image from the pop-up menu.
You'll be presented with the Trace Image dialog, with your image showing in the window, like this:
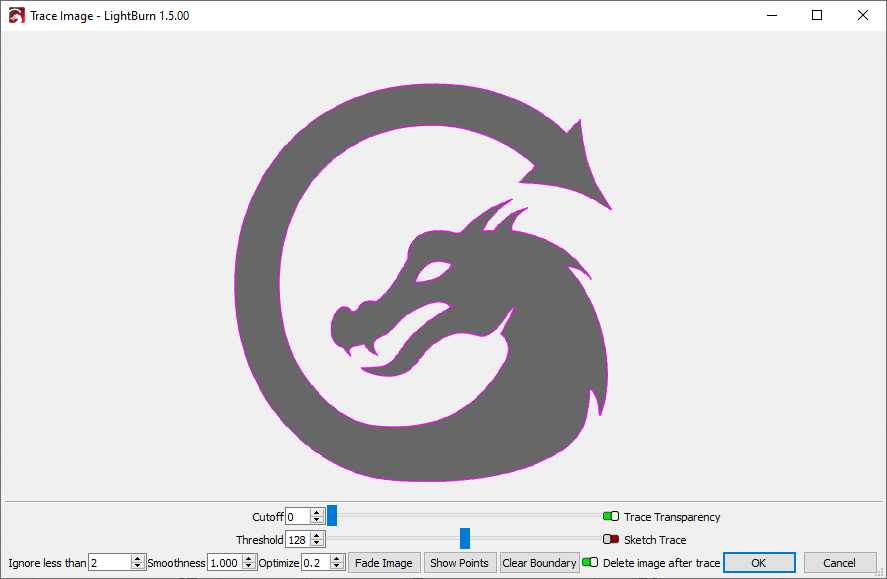
In the image above, the purple lines are the vectors that LightBurn has produced from the image being traced. If you want to be able to see them more clearly, click the "Fade Image" button, and the image will dim. You can also zoom and pan using the same controls as the preview window (mouse wheel to zoom, and click-drag the view with either left or middle mouse).
Controls
The preview window can be panned and zoomed just like the edit window, using the middle mouse button to pan and the mouse wheel to zoom. Double-clicking the middle mouse button resets the view.
Cutoff and Threshold
The Cutoff slider controls the lower end of the range of values that LightBurn will outline with vectors, and the Threshold slider sets the upper end. The default is 0 to 128, which traces around all values in the range of 0 to 128 brightness, excluding lighter values in the range of 129 to 255 brightness.
By adjusting these two controls, it is possible to trace around a narrow range of the image.

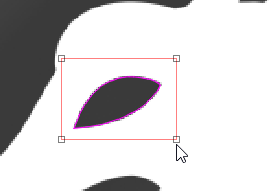
Selection Area
By clicking and dragging within the trace window you can specify a portion of the image you would like to trace. Once the area is defined, you can grab and drag a corner of it to adjust, or just single-click to reset it.
Ignore less than
This setting tells the tracing tool to ignore anything smaller than this many pixels in area. If you are trying to trace a noisy image, increasing this may help.
Smoothness
Image tracing determines how aggressively the trace tool smooths out the shapes it generates. A value of 0.0 will produce entirely straight lines, while the maximum value of 1.333 will make almost everything into curves.
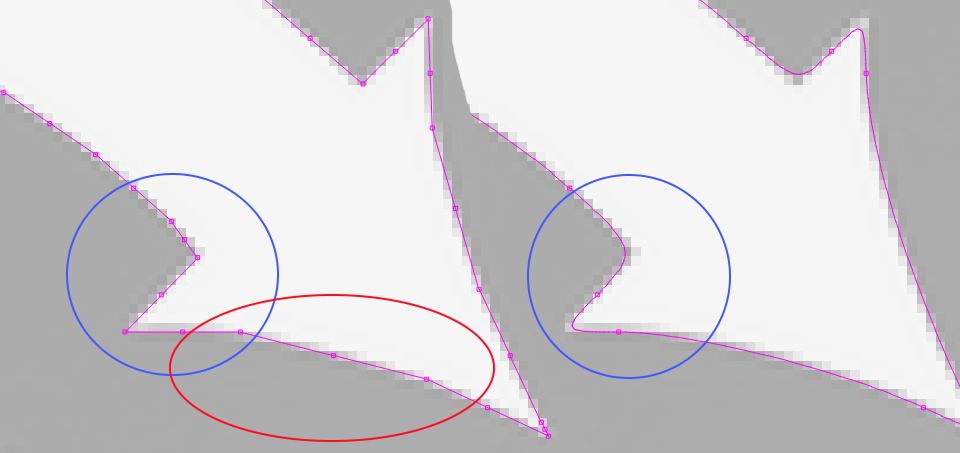
The shape on the left was traced with a Smoothness of 0, and produced a jagged result. The shape on the right was traced with a Smoothness of 1.333, and produced overly soft corners.
The default Smoothness value of 1.0 is generally a good starting point to produce smooth curves without losing sharp corners.
Optimize
After generating lines and curves, the image trace feature will attempt to merge similar lines and curves together to reduce the node count of the result. The Optimize parameter controls how aggressive this is. 0 means no merging. The default of 0.2 is a nice balance between accuracy of the result and node count.
Fade Image
Dims the image to make it easier to see the resulting vector shapes
Show Points
Enables the display of the points (nodes) of the resulting vector trace. Enabling this is useful when you are tuning the Optimize parameter to see the resulting points.
Sketch Trace
Sketch trace is intended to help with tracing handwriting or hand-drawn images, for instance tracing a recipe to engrave onto a cutting board. Without this setting, the threshold used to determine whether a pixel is filled or empty is consistent across the entire image. With this setting activated, LightBurn will consider its pixels neighbors more heavily to compensate for inconsistencies in both lighting and the darkness of the image you're tracing. You can see more at this timestamp of our tracing video.