Downloading & Installing LightBurn
Downloading LightBurn
The first step is to go to lightburnsoftware.com
At the top, click "Download and Trial" (or click here)
You'll see links for the current release of LightBurn. Download the version that matches your computer.
- Windows 64-bit - nearly all modern computers are 64-bit
- Windows 32-bit - some older systems might need this
- Mac OSX
- Linux 64-bit
When you've completed the download, you should see the file in your "Downloads" folder or the manually selected folder. On Windows and Mac you can just double-click the downloaded file.
Minimum computer system requirements
LightBurn will run on Windows 7.0 or later (32 or 64-bit), macOS 10.11 or later, and certain 64-bit Linux versions. Linux users should see Linux Installation for more details.
LightBurn does not require a powerful computer for most work, though if your designs contain a lot of images, more memory is helpful. As with most things, a faster computer will make it easier to work with large images or complex vector graphics.
Choose your operating system:
Windows Installation
Launch the installer by double-clicking it. Windows may ask if you trust us first.
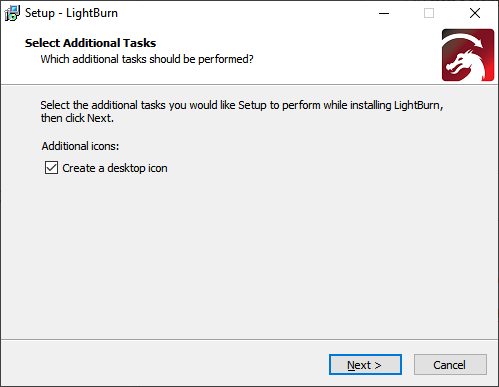
Click Next, then click 'Install'. The installation will proceed. When it completes, you'll see this:
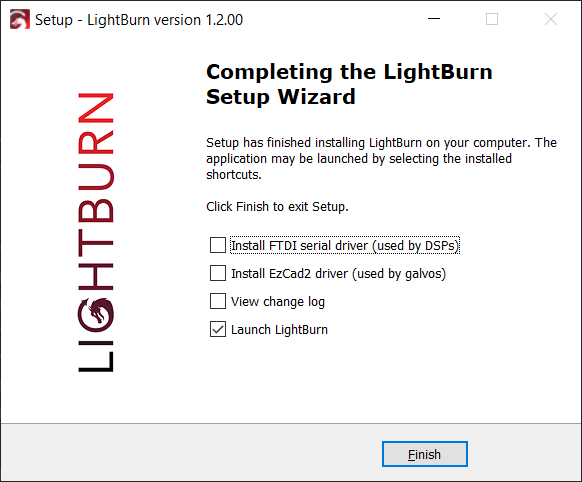
If you have never installed LightBurn before, you might need to check the 'Install FTDI driver' button - this is mostly used by DSP controllers, like Ruida and TopWisdom, and it only needs to be done once. If you update the software later, you do not need to repeat this step.
That's it! Locate the LightBurn icon to launch the program
MacOS Installation
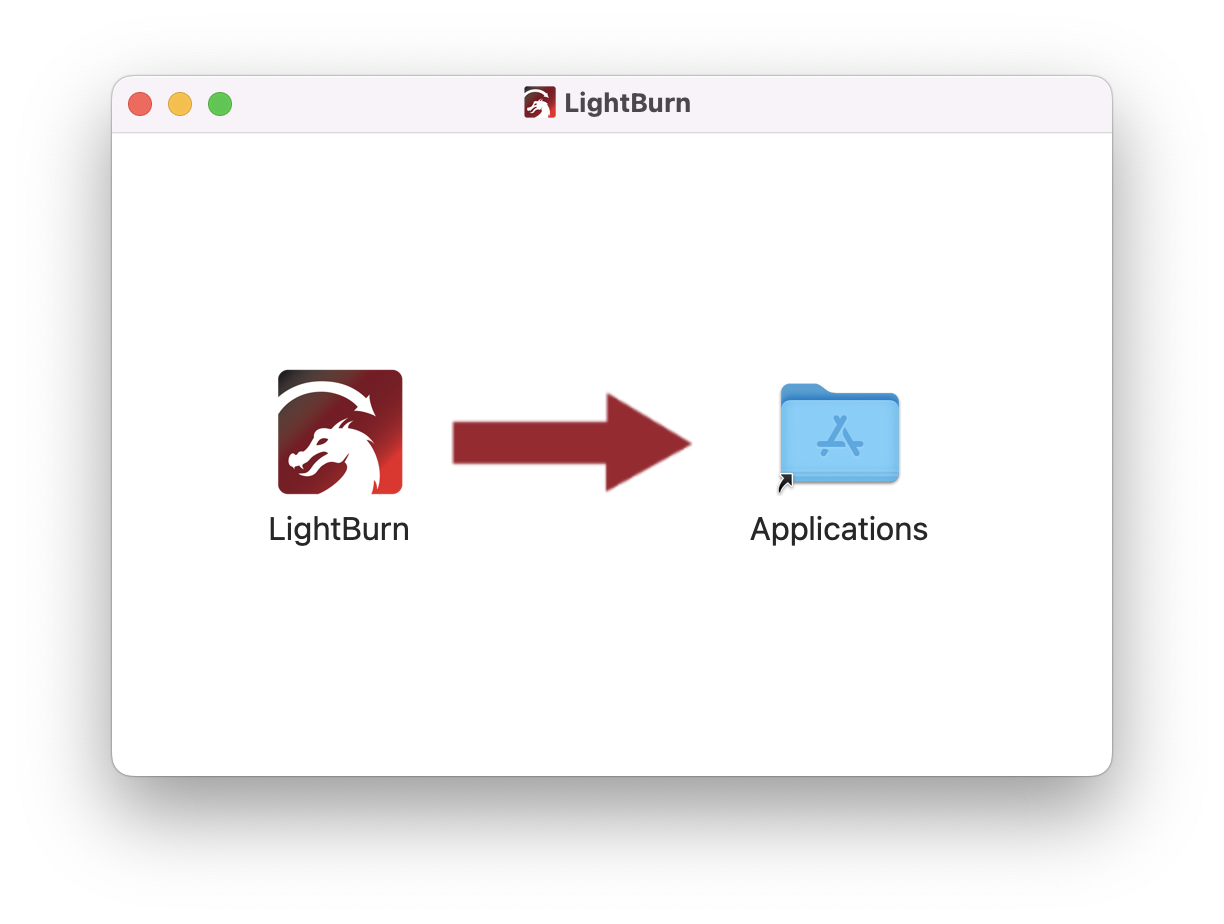
Installing LightBurn on Mac is accomplished the same way as most macOS software. After downloading the DMG file, open the file (typically by double-clicking) and drag LightBurn into your Applications folder. As long as you have version 1.2.00 or later, LightBurn should be ready to use. If you're using an older version, please see the information below for an additional step you'll need to take.
Versions before 1.2.00 were not notarized to be recognized by your computer as coming from a trusted developer. If you installed an older version, you'll need to follow the steps below to allow your computer to run the software:
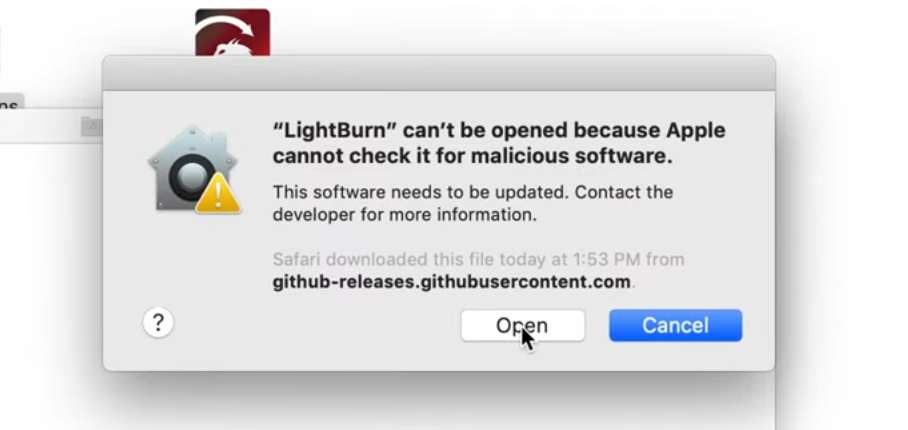
macOS Notarization Bypass Guide (fixing the 'unable to check it for malicious software' warning)
To Install the LightBurn application:
- Double-click the LightBurn.dmg file to mount the disk image
- Drag the LightBurn application into your applications folder
- Eject the LightBurn disk image, or drag it to the trash bin
When launching LightBurn for the first time:
- Open a Finder window
- Browse to the 'Applications' folder
- Hold the Control key and click the LightBurn icon, or right-click or two-finger tap the icon
- Choose 'Open' from the menu
- When macOS asks if it should open the program, say yes, and it will be listed as an exception in your launcher. From then on you can just launch the application normally.
Video Walkthrough
Linux Installation
Linux Compatibility
LightBurn is tested on Ubuntu Linux, and current releases are officially supported on Ubuntu 20.04 and 22.04.
Ubuntu
- Ubuntu 18.04 users unable to upgrade to a more recent version should download LightBurn 1.2.01, the last release compatible with their operating system.
- Ubuntu 20.04 users can use any of the installation methods described below.
- Ubuntu 22.04 users will need to use LightBurn's new AppImage installer.
Using AppImage
LightBurn is now available as an AppImage for easier setup and increased compatibility. To use the LightBurn AppImage:
- Download the AppImage file
- Add the user to the dialout and tty groups
- Make sure libfuse is installed
- Make the file executable
- Double-click the AppImage file to run it.
Add User to Dialout and TTY
Info
In the command below, $USER doesn't need to be replaced with your username. It's a standard system variable, and if entered exactly as shown below will automaticlaly refer to the logged-in user's username.
Open a terminal and run the following command. When complete, be sure to log out and log back in to refresh permissions:
sudo adduser $USER dialout && sudo adduser $USER tty
Install libfuse
Ubuntu 22.04 does not have the FUSE library, which prevents AppImage from working as expected. To install the library, use the following command in the terminal:
sudo apt install libfuse2
Graphical method to make the AppImage file executable:
- Right-click on the
.appimagefile - Select Properties
- Go to the Permissions Tab
- Check the Allow executing file as program box
Command line method:
Replace <AppImage File> with the actual .appimage file and run the following:
chmod u+x <AppImage File>
AppImage Troubleshooting
- Make sure you've logged out and back in after adding the current user to the dialout and tty groups.
- If you're having trouble with the AppImage, you may find this guide from itsfoss.com useful: itsfoss.com/cant-run-appimage-ubuntu/.
- Our support team is also available to help. When reaching out to support, please include in your message that you're using AppImage on Linux, and which Linux version you're using.
Using .run Or .7z Installer
Info
In step 1 below, $USER doesn't need to be replaced with your username. It's a standard system variable, and if entered exactly as shown below will automatically refer to the logged-in user's username.
- Open a terminal and run the following command:
sudo adduser $USER dialout && sudo adduser $USER tty- IMPORTANT! Log out and log back in (this refreshes the permissions we just added)
- Download the Linux 64-bit version, either the
.runfile or the.7zfile and follow the appropriate steps below:
.run installer
- Open your terminal and
cdto the directory you downloaded the file to. - Run
bash ./LightBurn-Linux64-v*.run - It will now automatically install and create a program listing in your desktop environment.
.7z installer
- Extract the folder wherever you want LightBurn to exist
- Right click
AppRun→ Properties → Permissions → 'Allow executing file as program' - Double click
AppRuninside your LightBurn folder