Moving LightBurn To Another Computer
This guide will cover LightBurn's built-in tools to migrate your settings to a new computer.
License Management
Each LightBurn license key comes with 3 seats, allowing you to activate LightBurn on up to 3 computers simultaneously. If you will no longer be using LightBurn on a particular computer, you can deactivate LightBurn to free up the seat for use on another computer. See License Management for more information.
You can add additional seats without purchasing a separate license here.
Migrate LightBurn Settings
The new Export Bundle and Import Bundle features added in LightBurn 1.6 simplify the migration process significantly. If you are using an older version of LightBurn, please see the All Versions tab.
User Bundles
LightBurn 1.6 simplifies the migration process by bundling everything that needs to be moved into a single .lbzip file.
User Bundles allow you to export and import your LightBurn settings, device profiles, and libraries. You can choose to export everything at once, or select and export only certain components you wish to transfer.
A bundle can include any of the following:
Export Bundle

- In an existing and already configured LightBurn installation, go to File → Bundles → Export Bundle.
- Make sure that all components of the current installation that you wish to migrate are selected and click Export. Save the file somewhere you can find it again easily.
Import Bundle

- Move the
.lbzipfile created by Export Bundle to the new computer. - Open LightBurn on the new computer. Go to File → Bundles → Import Bundle and select the file. Click Okay.
- Make sure that all components you want to import are selected, and uncheck any components you don't want to import.
- With the exception of Devices, components that are already detected on the computer will be grayed out and unavailable.
- If you choose to a import a Device that conflicts with one that already exists, a duplicate will be created, and the existing profile preserved.
- Click Import to complete the process.
Tip
You can also import a bundle by dragging the .lbzip file into LightBurn.
LightBurn Settings
This step will migrate your Display & Units settings as well as your File settings. See the Settings window documentation to learn more about these settings.
Export
Export an existing LightBurn installation's settings to a LightBurn Preferences File (.lbprefs) by going to File → Export Prefs. Save the .lbprefs file somewhere you can access from the new computer.

Import
On the new LightBurn installation, go to File → Import Prefs and select the .lbprefs file from step 1. Confirm that you want to overwrite your current preferences.
Device Settings
Device settings are managed separately from overall LightBurn settings. See Device Settings to learn more about these settings.
Export
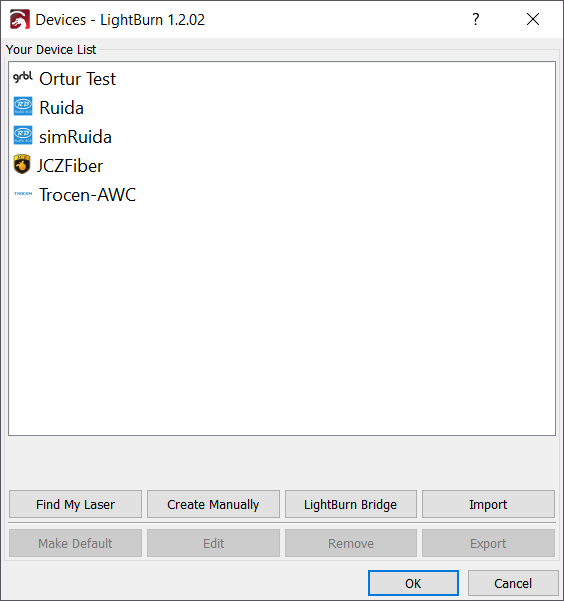
- Click the Devices button in the Laser window to open the Devices window.
- Select a laser, then click Export.
- Save the LightBurn Device File (
.lbdev) somewhere you can access from the new computer.
Import
- Open the Devices window as described above.
- Click the Import button.
- Select the
.lbdevfile and click Open to add the pre-configured device.
Libraries
Tip
If you aren't sure where to find the library files, search your computer for .clb files to locate Material Libraries or .lbart files to locate Art Libraries.
To migrate a Material Library or Art Library, locate the file on your old computer and copy it to your new computer.
On the new LightBurn installation, go to the relevant window and use the Load button to import the library.
SHX Fonts
- Copy your SHX Fonts folder to the new computer.
- If your SHX fonts aren't recongized, update the SHX Font path on the new computer.