Adding & Configuring for Beginners
LightBurn can't control every laser, but it can talk to a number of different types of laser controllers, all of which use different ways of communicating, and have different abilities and settings.
This step tells LightBurn what type of laser you have.
If you've never configured a device in LightBurn, you'll be brought here automatically when you run the software. It is important that you pick something because the interface in LightBurn will change depending on the capabilities of the laser you choose. If you don't have a laser to connect to yet, you can create a placeholder device.
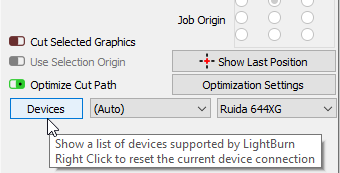
If you've done this before but want to change your laser or add a new one, click the Devices button in the Laser Window to bring up the devices list.
LightBurn can also be configured to control more than one laser, and there are settings stored for each device. If you don't pick one, we have nowhere to put these settings, and a number of features within LightBurn will not work until this is set up.
The Devices Window
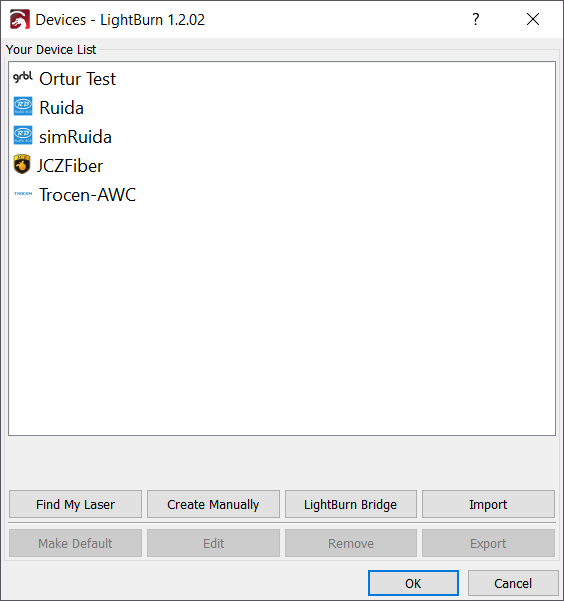
This is the Devices window in LightBurn. Here you will see a list of all the laser devices you've added to LightBurn, or an empty list when you're first starting.
The simplest way to proceed is to click Find My Laser and let LightBurn locate and identify your laser. If that doesn't work, your laser may connect with Ethernet, or if you have a Marlin device, you'll need to use Create Manually. If you're using a LightBurn Bridge device, you can use the LightBurn Bridge setup.
You can also import and export laser configurations to move them between computers using the Export button on this page from the source computer and then import it to the new install using the Import button. Exporting will create a .lbdev (LightBurn device) file which contains all of the device specific information LightBurn needs to import that machine's profile into the new computer.
Tip
You can import a LightBurn Device profile by dragging and dropping it into the LightBurn window.
What if I don't have a laser yet?
You don't ever need to connect a laser to LightBurn to use it, but LightBurn will not run without a device profile configured, because it needs a place to store some settings, and wants to know what options to show you in the interface. If you use a laser that accepts files on a USB drive for example, LightBurn needs to know which controller it uses so it can produce the correct output files.
To start using LightBurn without a laser, use Create Manually and configure the things you can, and guess at whatever you don't know. When you finally do get your laser, you can come back to this screen, select the 'dummy' profile you set up, and click Remove. Then you can follow the setup steps here for real this time and use your laser!
Configuring
If you have a GCode controller—particularly if you also use your system as a CNC or 3D printer—there may be additional configuration required.
If you have a Ruida DSP controller and are configuring from scratch, read here:
If you're using a galvo laser, start here: